Get the Most Out of Tonalic

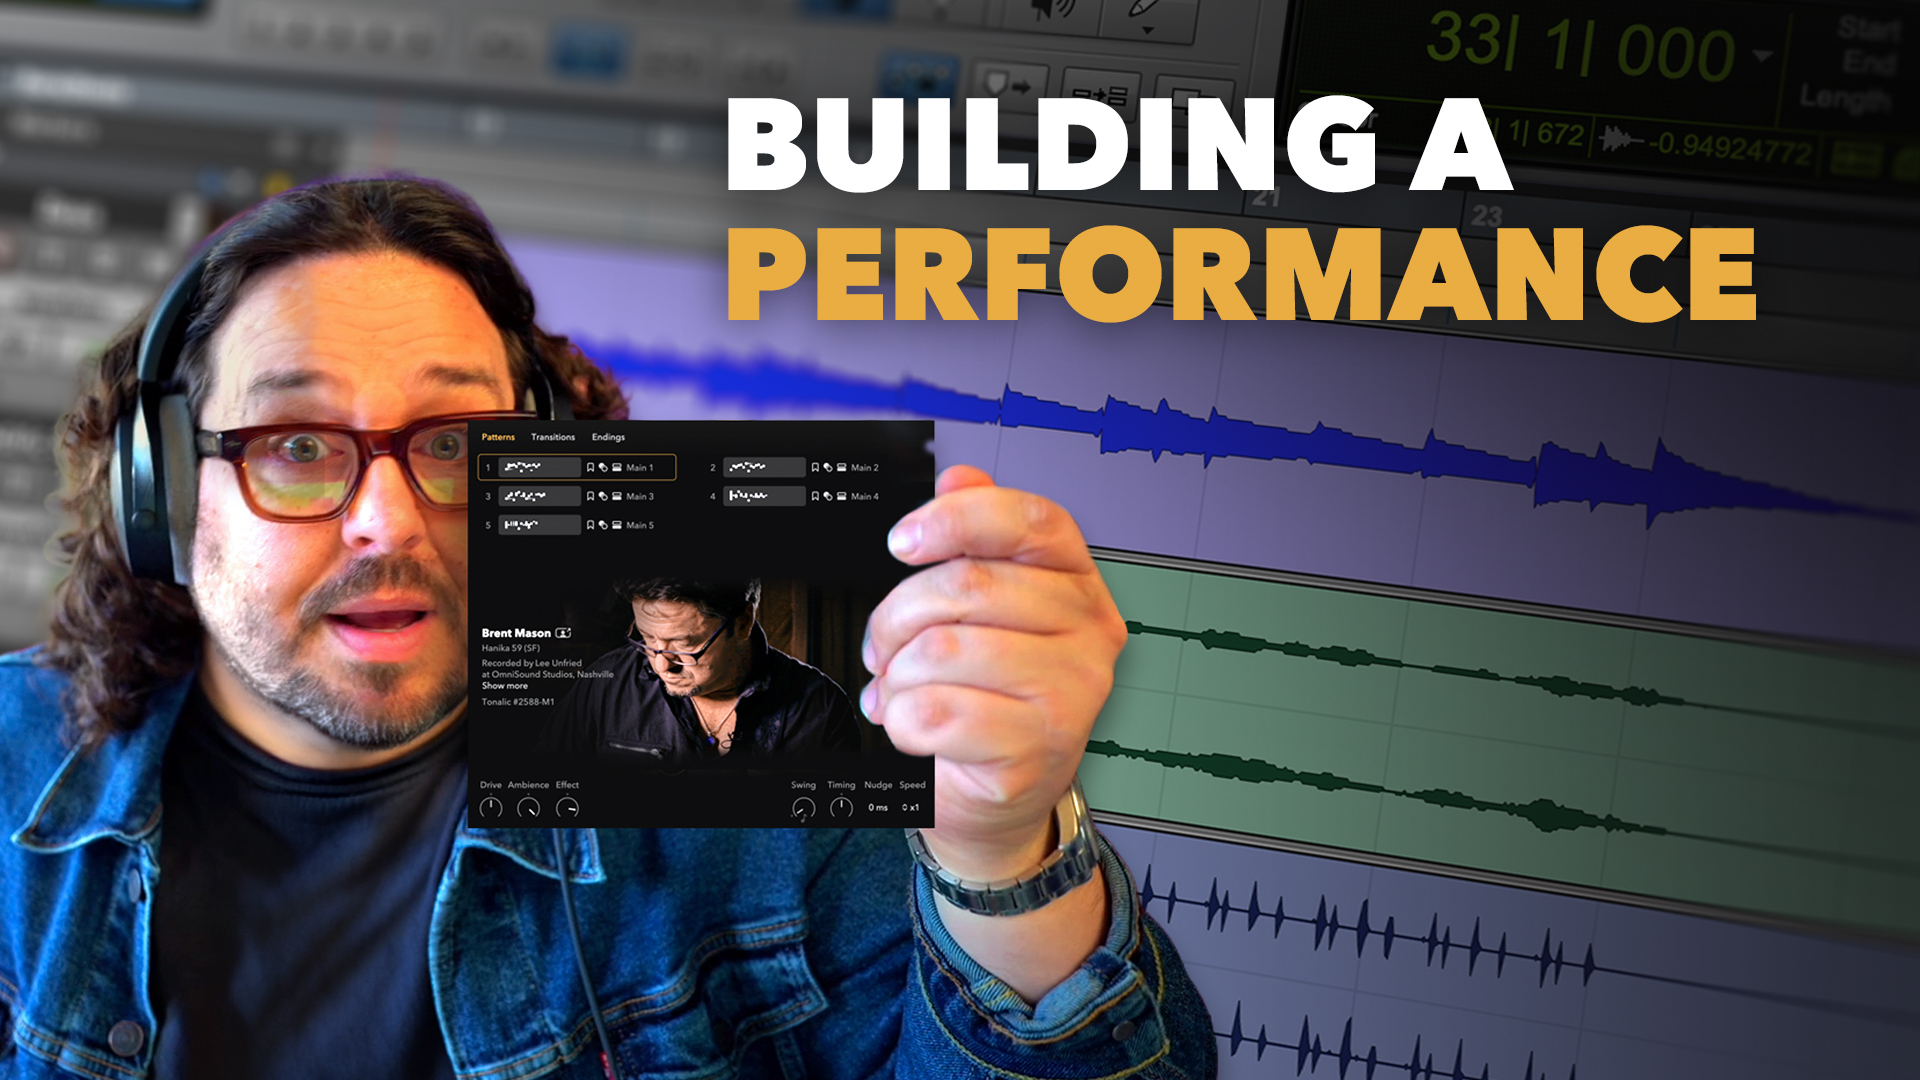
Tonalic works a bit differently from traditional libraries — especially when it comes to handling chords and overall workflow. Product Director Leo Waidosch walks you through all the key features.

DAW-FAQ

How to Load Tonalic in Cubase

Cubase currently supports Tonalic via the "Tonalic Instrument" plug-in. While you may see a “Tonalic ARA” option in Cubase, this deeper ARA workflow is not available yet for Tonalic.

To work with Tonalic in Cubase, please use the "Tonalic Instrument" as described below:

  • Open a Cubase project.
  • Right-click in the Track Area and select Add Instrument Track.
  • Choose Tonalic Instrument as the instrument.
  • (Optional) Increase the Count value to add multiple tracks at once, then click Add Track.
  • Log in when Tonalic first opens.

Each Tonalic Instrument Track corresponds to one Tonalic Track inside the plug-in.
Rename your tracks — the names appear automatically inside Tonalic.

Tip
Track names and order changes in Cubase are reflected instantly in Tonalic.
If they don’t appear immediately, close and reopen MultiTrack View.

Compatibility with Cubase

We have tested the latest version of Tonalic with the following configurations:

Cubase 15.0.50 (VST3) under

Windows 11
macOS 14.6 (Intel)
macOS 15.7 (Apple Silicon native)

How to Render a Tonalic Track to Audio in Cubase

To convert a Tonalic Instrument track to audio in Cubase, please do the following:

  • Create a MIDI region: Double-click on the Tonalic Instrument track in the Cubase timeline to create an empty MIDI region.
  • Set the render length: Extend the MIDI region to cover the full section you want to render as audio.
  • Render in Place: Open the Cubase menu and choose Edit → Render in Place → Render (with current settings).
  • Result: Cubase creates a new audio track containing the rendered Tonalic performance. The original Tonalic Instrument track remains unchanged.

Note: Tonalic is not a MIDI instrument. The MIDI region only defines the time range Cubase should render – it does not affect the musical content of the Tonalic performance.

Tip: After rendering, you can disable or remove the Tonalic Instrument track to save CPU resources, or keep it muted if you want to make changes later and re-render.

How to Load Tonalic in Live

Ableton Live currently supports Tonalic via the „Tonalic Instrument" plug-in. While you may see a “Tonalic ARA” option in Live, this deeper ARA workflow is not available yet for Tonalic.

To work with Tonalic in Live, please use the "Tonalic Instrument" as described below:

  • Open a new or existing Live Set.
  • Go to Preferences → Plug-Ins and enable Use VST3 Plug-In System Folders.
  • In the Browser, search for Tonalic.
  • Drag Tonalic Instrument onto a new track (or double-click it).
  • Log in when prompted.

Tonalic runs on an Instrument Track but does not respond to MIDI notes.

Tips

  • Each Tonalic Instrument instance creates its own track inside Tonalic.
  • Rename or reorder tracks—changes sync instantly with Tonalic.
Compatibility with Live

We have tested the latest version of Tonalic with the following configurations:

Live 12.3 (VST3) under

Windows 11
macOS 15.7 (Intel)
macOS 15.7 (Apple Silicon native)

How to Render a Tonalic Track to Audio in Live

To convert a Tonalic Instrument track to audio in Ableton Live 12, please do the following:

  • Create a MIDI clip: Double-click on the Tonalic Instrument track in the Live timeline to create an empty MIDI clip.
  • Set the render length: Extend the MIDI clip to cover the full section you want to render as audio.
  • Bounce to a new track: Open the Live menu and choose Edit → Bounce to New Track.
  • Result: Live creates a new audio track containing the rendered Tonalic performance. The original Tonalic Instrument track remains unchanged.

Note: Tonalic is not a MIDI instrument. The MIDI clip only defines the time range Live should render – it does not affect the musical content of the Tonalic performance.

Tip: After bouncing, you can deactivate or remove the Tonalic Instrument track to save CPU resources, or keep it muted if you want to make changes later and bounce again.

How to Load Tonalic in Logic

Logic does not support Tonalic ARA yet.

To work with Tonalic in Logic, please use the "Tonalic Instrument" as described below:

  • Open a Logic project.
  • Under Create New Track, choose Software Instrument.
  • In the instrument slot, navigate to
    AU Generators → Celemony → Tonalic Instrument → Stereo.
  • Click Create.
  • When Tonalic opens, log in with your Tonalic credentials.


Tonalic runs inside Logic on a Software Instrument track but is not a MIDI instrument.
MIDI notes on that track will not trigger Tonalic.

Tips

  • Add additional Tonalic Instrument tracks for more instruments.
  • Rename your Logic tracks; names appear inside Tonalic’s MultiTrack View.
  • To reopen Tonalic quickly, hold ⌘ + double-click the track header.
Compatibility with Logic

We have tested the latest version of Tonalic with the following configurations:

Logic Pro 11.2.2 (AU) under

macOS 15.7 (Intel)
macOS 26.0 (Apple Silicon)

How to Render a Tonalic Track to Audio in Logic

To convert a Tonalic Instrument track to audio in Logic, please do the following:

  • Create a MIDI region: Right-click on the Tonalic Instrument track and select "Create MIDI Region" from the context menu.
  • Set the render length: Extend the MIDI region to cover the full section you want to render as audio.
  • Bounce to audio: In the next prompt, choose "New Track" under "Destination" and "Mute" under "Source".
  • Result: Logic creates a new audio track containing the rendered Tonalic performance. The original Tonalic Instrument track remains unchanged.

Note: Tonalic is not a MIDI instrument. The MIDI region only defines the time range Logic should render – it does not affect the musical content of the Tonalic performance.

Tip: After rendering, you can disable or remove the Tonalic Instrument track to save CPU resources, or keep it muted if you want to make changes later and re-render.

How to Load Tonalic in Pro Tools

Pro Tools does not support Tonalic ARA yet.

To work with Tonalic in Pro Tools, please use the "Tonalic Instrument" as described below:

  • Open a Pro Tools session.
  • Go to Track → New… and create a Stereo Instrument Track.
  • In the track’s insert slot, load Tonalic Instrument
    (multi-channel → Celemony → Tonalic).
  • Log in with your Tonalic credentials.

Tonalic uses the Instrument Track as a host plug-in but is not a MIDI instrument.
MIDI data on that track will have no effect.

Tips

  • Each Tonalic Instrument insert corresponds to one Tonalic Track.
  • Rename tracks to identify them easily in MultiTrack View.
  • Track order inside Tonalic matches the order of creation in Pro Tools.
Compatibility with Pro Tools

We have tested the latest version of Tonalic with the following configurations:

Pro Tools 2025.10 (AAX) under

Windows 11
macOS 15.7 (Intel)
macOS 26.0 (Apple Silicon native)

How to Render a Tonalic Track to Audio in Pro Tools

To convert a Tonalic Instrument track to audio in Pro Tools, please do the following:

  • Create a MIDI clip: Use the Pencil Tool to make a selection on the Tonalic Instrument track, then consolidate it to create an empty MIDI clip.
  • Set the render length: Extend the MIDI clip to cover the full section you want to render as audio.
  • Create an audio track: Create a new stereo audio track in Pro Tools.
  • Drag to audio track: Drag & drop the MIDI clip from the Tonalic Instrument track onto the newly created audio track.
  • Result: Pro Tools renders the Tonalic performance to an audio clip on the audio track. The original Tonalic Instrument track remains unchanged.

Note: Tonalic is not a MIDI instrument. The MIDI clip only defines the time range Pro Tools should render – it does not affect the musical content of the Tonalic performance.

Tip: After rendering, you can deactivate or remove the Tonalic Instrument track to save CPU resources, or keep it inactive if you want to make changes later and render again.

How to Load Tonalic in Studio One
  • Open a Studio One session.
  • In the right-hand Browser, locate Tonalic.
  • Drag Tonalic onto a track—or into the arrangement area—to load the ARA extension.
  • Log in with your Tonalic credentials when prompted.
  • Use the Chord Track to control Tonalic’s chords and progressions.

For best results, use Studio One 7.2.3.
If your version doesn’t support Tonalic ARA, load Tonalic Instrument instead.

Tips

  • Work directly from the Browser, or double-click a Tonalic region to open the bottom-panel GUI.
  • Each Tonalic Instrument instance creates a separate track inside Tonalic.
  • Name tracks clearly before adding more.
Compatibility with Studio One 7

We have tested the latest version of Tonalic with the following configurations:

Studio One 7.2 (ARA-VST3) under

Windows 11
macOS 15.7 (Intel)
macOS 26.0 (Apple Silicon native)

How to Render a Tonalic Track to Audio in Studio One 7

To convert a Tonalic track to audio in Studio One 7, please do the following:

  • Bounce to a new track: Right-click on the Tonalic track and select "Bounce To New Track".
  • Result: Studio One creates a new audio track containing the rendered Tonalic performance. The original Tonalic track remains unchanged.

Tip: After bouncing, you can disable or remove the Tonalic track to save CPU resources, or keep it muted if you want to make changes later and bounce again.

How to Load Tonalic in Fender Studio Pro 8
  • Open a Fender Studio Pro 8 session.
  • In the right-hand Browser, locate Tonalic.
  • Drag Tonalic onto a track—or into the arrangement area—to load the ARA extension.
  • Log in with your Tonalic credentials when prompted.
  • Use the Chord Track to control Tonalic’s chords and progressions.

Tips

  • Work directly from the Browser, or double-click a Tonalic region to open the bottom-panel GUI.
  • Each Tonalic Instrument instance creates a separate track inside Tonalic.
  • Name tracks clearly before adding more.
Compatibility with Studio Pro 8

We have tested the latest version of Tonalic with the following configurations:

Fender Studio Pro 8 (ARA-VST3) under

Windows 11
MacOS 15.7 (Apple Silicon native)

How to Render a Tonalic Track to Audio in Fender Studio Pro

To convert a Tonalic track to audio in Fender Studio Pro 8, please do the following:

  • Bounce to a new track: Right-click on the Tonalic track and select Bounce To New Track.
  • Result: Fender Studio Pro creates a new audio track containing the rendered Tonalic performance. The original Tonalic track remains unchanged.

Tip: After bouncing, you can disable or remove the Tonalic track to save CPU resources, or keep it muted if you want to make changes later and bounce again.

How to load Tonalic in other DAWs

Tonalic can be used in all major DAWs via the "Tonalic Instrument" plug-in. Even if your DAW supports ARA or shows a “Tonalic ARA” option, this deeper ARA-based workflow may not be available yet for Tonalic.

To work with Tonalic, please load the "Tonalic Instrument“ plug-in on a MIDI or Software Instrument track.

All Tonalics follow the tempo of your DAW and the chords and key you can set in the Tonalic window. Tonalic always behaves musically the same, regardless of the DAW you are using.

General Notes

  • Tonalic runs on an Instrument track but is not a MIDI instrument.
  • MIDI notes on that track will not trigger Tonalic.
  • Each Tonalic Instrument track corresponds to one Tonalic track inside the plug-in.
How to Render a Tonalic Track to Audio in Other DAWs

To convert a Tonalic Instrument track to audio in other DAWs, please do the following:

  • Create a render range: Create an empty MIDI or instrument region on the Tonalic Instrument track and extend it to cover the section you want to render as audio. (Some DAWs may create this region automatically during bounce.)
  • Use your DAW’s bounce or render function: Use your DAW’s standard Bounce, Render, or Freeze / Convert to Audio function for instrument tracks.
  • Result: Your DAW creates a new audio track or audio file containing the rendered Tonalic performance. The original Tonalic Instrument track remains unchanged.

Note: Tonalic is not a MIDI instrument. If your DAW requires a MIDI or instrument region for bouncing, this region only defines the time range to render – it does not affect the musical content of the Tonalic performance.

Tip: If your DAW offers multiple render options, choose the one that renders instrument tracks to audio rather than exporting MIDI. After rendering, you can disable or remove the Tonalic Instrument track to save CPU resources.

Any problems? We're happy to help!

If things aren't working as they should, our support team will be happy to help. Just send us an email at support@tonalic.com. Our support staff speak English, German, and Japanese and can usually help you very quickly.

Please let us know which Tonalic edition you are using, along with the version and the serial number. Additionally, it is essential to let us know your operating system and version, your CPU type, as well as your DAW name and version (i.e., macOS 15.4.7, Apple Silicon, Pro Tools 2025.10).

Our team (from left to right): Rich, Jörg, Rob, Ulf, Panos, Tom, Micha, Sascha (not pictured: Koji).


Tonalic feels like having a musician by your side.
No AI, no loops, no MIDI. Just a musician playing along to every chord, every tempo, every groove. Effortlessly.

The result? Authentic guitar, bass, and drum tracks in your song — with the sound, the emotion, and all the performance magic that happens between the notes.

From Celemony, the creators of Melodyne.
Played by world-class studio musicians.
Driven by your song.

Tonalic — a musician by your side